Trading without a solid plan is like trying to navigate a road trip without GPS. Sure, you might get lucky, but chances are you’ll end up lost (and broke). That’s where backtesting comes in. It’s like a time machine for your trading strategy, letting you see how it would have performed in the past before you put your hard-earned cash on the line. When done right, backtesting helps you fine-tune your approach, avoid costly mistakes, and trade with confidence. In this guide, we’ll break down how to optimize your trading strategy using backtesting—no boring jargon, just real talk.
Key Takeaways
- TradingView backtesting lets you simulate your trading strategies on historical data, showing you potential past performance before risking real money.
- Understanding the difference between indicators (which show data) and strategies (which simulate trades) is key to effective TradingView backtesting.
- Interpreting results from TradingView backtesting involves looking at metrics like net profit, drawdowns, and win rates to refine your strategy.
- Advanced TradingView backtesting techniques include parameter tuning, combining indicators for confluence, and multi-timeframe analysis to avoid overfitting.
- Common pitfalls in TradingView backtesting include overfitting, data snooping bias, and ignoring real-world costs like fees and slippage, which need to be addressed for realistic results.
Understanding The Core Of TradingView Backtesting
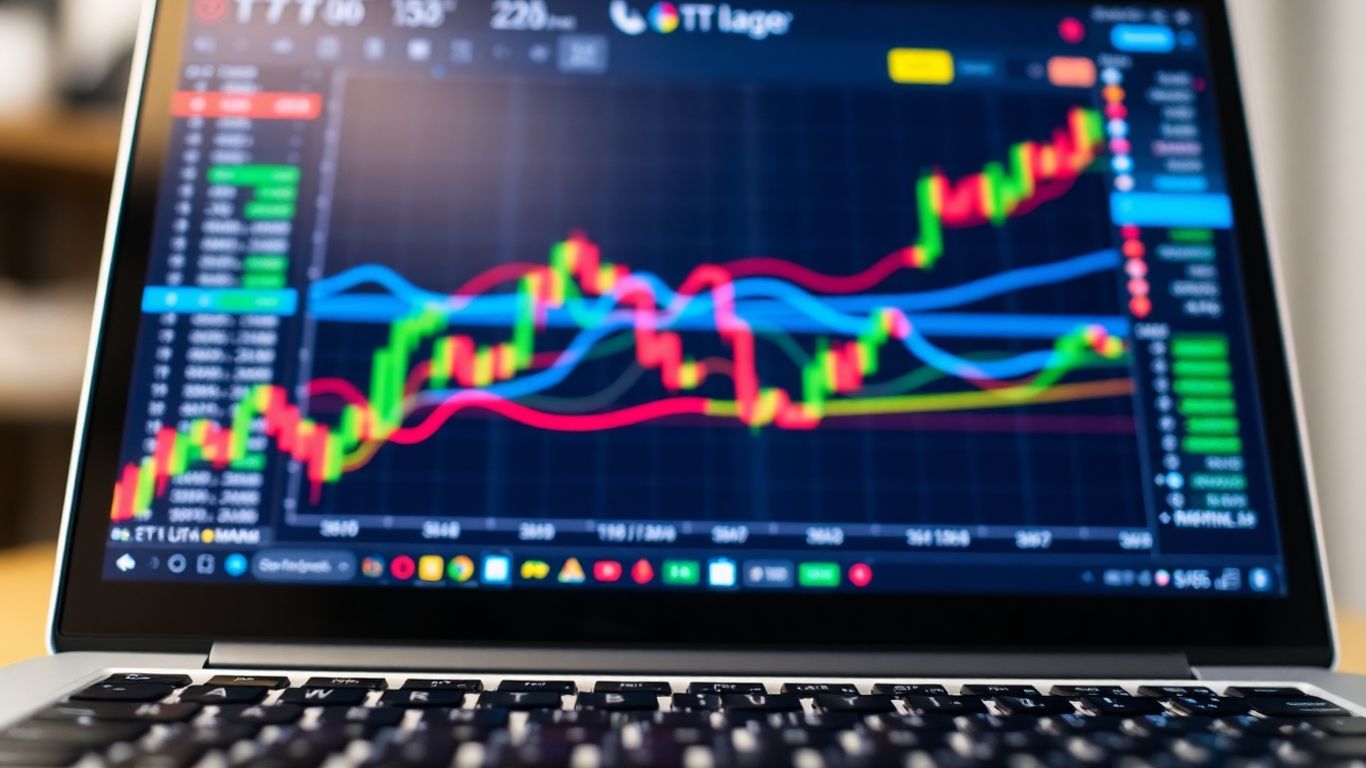
So, you want to test out your trading ideas without actually losing money? That’s where TradingView’s backtesting comes in. It’s basically like playing a video game of the past, letting you see how your strategy would have performed using historical market data. This is super important because it helps you figure out if your strategy is actually any good before you put your hard-earned cash on the line. TradingView is a popular platform, and for good reason. It’s web-based, so you can use it from pretty much anywhere with internet. Plus, it covers a ton of markets – stocks, crypto, forex, you name it. The charts are pretty easy to work with too, which is a big plus.
Setting Up Your TradingView Account For Effective Strategy Testing
First things first, you need an account. Head over to the TradingView site and sign up. They have a free version, which is fine for starting out, but if you get serious about backtesting, you might want to look at their paid plans. The paid ones let you use more indicators on a chart at once and save more of your chart setups. This can make a big difference when you’re trying out different things.
TradingView uses something called Pine Script for its indicators and strategies. You don’t have to be a coding wizard to use backtesting, but knowing the difference between an indicator (which just shows you data, like a moving average) and a strategy (which actually makes buy and sell signals) is helpful. Strategies are what you’ll use for backtesting.
Navigating The TradingView Tools And Features
The main place you’ll be spending your time is the Strategy Tester. You can find it at the bottom of your chart window. It’s where all the magic happens, showing you how your strategy performed over a specific period.
Here’s a quick rundown of what you’ll see:
- Overview Tab: This gives you the quick stats – like total profit, how many trades were made, and the percentage of winning trades.
- Performance Summary Tab: This is where you get into the nitty-gritty. You’ll find things like the biggest loss your strategy ever took (that’s called max drawdown) and how often it won.
- List of Trades Tab: This shows you every single simulated trade, including when it entered, when it exited, and the profit or loss for that trade.
You can adjust the time period you’re testing over. It’s a good idea to test across different market conditions – like when prices were going up, going down, or just moving sideways. This gives you a better picture of how your strategy holds up.
Distinguishing Between Indicators And Strategies
It’s really important to know the difference here. Indicators, like the Relative Strength Index (RSI) or MACD, just give you information. They show you things like momentum or trend strength. They don’t actually tell the platform to buy or sell.
Strategies, on the other hand, have specific rules for entering and exiting trades. When you add a strategy to your chart, TradingView’s Strategy Tester can then simulate those trades based on the historical data. You’ll see markers on your chart showing where the strategy would have bought or sold, and the Strategy Tester panel will fill up with all the performance data.
Executing Your First TradingView Backtest
Alright, so you’ve got your TradingView account set up and you’ve figured out the difference between a regular indicator and a full-blown strategy. Now comes the fun part: actually running a backtest. This is where your trading ideas get put to the test against historical price action. It’s not rocket science, but there are a few steps to get right so you don’t end up with garbage results.
Setting Up The Chart Layout For Testing
Before you even think about clicking ‘run’, you need to get your chart looking the way you want it for testing. This means picking the right market and the right timeframe. Are you testing a crypto strategy on the daily chart, or a forex strategy on the 15-minute? Make that decision first.
- Choose Your Market: Select the specific asset you want to test. This could be anything from Bitcoin (BTC/USD) to Apple stock (AAPL) or the Euro/Dollar (EUR/USD) currency pair.
- Pick Your Timeframe: This is super important. Are you a scalper looking at 1-minute or 5-minute charts? A day trader on the 15-minute or 30-minute? Or a swing trader using the 4-hour or daily charts? Your timeframe dictates the frequency of trades and the type of signals you’ll get.
- Load Your Strategy: This is where you’ll add the actual strategy you want to test. You can use one of TradingView’s built-in strategies, like the ‘Moving Average Cross Strategy’, or a custom one you’ve found or written yourself from the Public Library.
Applying Indicators Or Strategies To The Chart
Once your chart is set up with the right market and timeframe, it’s time to add your strategy. If you’re using a built-in strategy or one from the Public Library, it’s pretty straightforward. Just find it in the ‘Strategies’ tab (usually near the ‘Indicators’ tab) and click ‘Add to Chart’. You’ll see markers pop up on your chart showing where hypothetical trades would have happened, and a new panel will appear at the bottom – that’s your Strategy Tester.
Remember, indicators just show you data, like moving averages or RSI levels. Strategies, on the other hand, have specific rules for entering and exiting trades. That’s why you need to apply a strategy to run a backtest that simulates actual trades.
Running The Backtest And Initial Parameter Adjustments
With your strategy loaded, the backtest is technically running. But you’re probably not done yet. Most strategies have settings, or ‘parameters’, that you can tweak. Think of things like the length of a moving average, or the overbought/oversold levels for an RSI. Even small changes here can make a big difference in how the strategy performs.
- Locate the Strategy Tester: This panel usually sits at the bottom of your TradingView chart. It’s where all the backtest results will show up.
- Check the ‘Overview’ Tab: This gives you a quick snapshot of the most important numbers: net profit, total number of trades, and the win rate.
- Adjust Parameters: Find the settings for your strategy (often accessible by clicking the gear icon next to the strategy name on the chart). Change one parameter at a time, re-run the backtest, and see how the results change. Keep a record of these changes and their outcomes – a simple spreadsheet works well.
It’s really important to change only one parameter at a time. If you change three things at once and the results get better, how do you know which change actually helped? It’s a bit of a trial-and-error process, but that’s how you start to understand what makes your strategy tick.
Interpreting Backtesting Results For Strategy Refinement
So, you’ve run your backtest. That’s great! But what do all those numbers actually mean? It’s easy to get lost in the data, but understanding these results is how you actually make your strategy better. Think of it like getting a report card – you need to know where you aced it and where you need to study more.
Analyzing Key Performance Metrics In The Strategy Tester
The Strategy Tester panel in TradingView gives you a bunch of numbers. The ‘Overview’ tab is your first stop. It shows you the big picture: net profit, how many trades your strategy took, and the win rate. But don’t stop there. The ‘Performance Summary’ is where things get interesting. You’ll see metrics like maximum drawdown – that’s the biggest drop your account balance took from a peak. This tells you how much risk you’re exposed to. Also, look at the average trade profit and loss. Are your winning trades big enough to cover your losing ones?
Here’s a quick look at some important numbers:
| Metric | What it Tells You |
|---|---|
| Net Profit | Total profit or loss from all trades. |
| % Profitable | Percentage of trades that ended in profit. |
| Gross Profit | Total profit from winning trades. |
| Gross Loss | Total loss from losing trades. |
| Max Drawdown | Largest peak-to-trough decline in account value. |
| Average Trade | Average profit or loss per trade. |
| Total Trades | The total number of trades executed. |
Reviewing The List Of Trades For Granular Insights
Scrolling through the ‘List of Trades’ tab is like looking at the play-by-play of your strategy. You can see every single buy and sell order, the entry and exit prices, and the profit or loss for that specific trade. This is super helpful for spotting patterns. Are your losing trades happening at a specific time of day? Are your winning trades consistently smaller than your losing ones? This level of detail can reveal weaknesses that the summary metrics might miss. It’s in these individual trades that you can often find the ‘why’ behind your overall results.
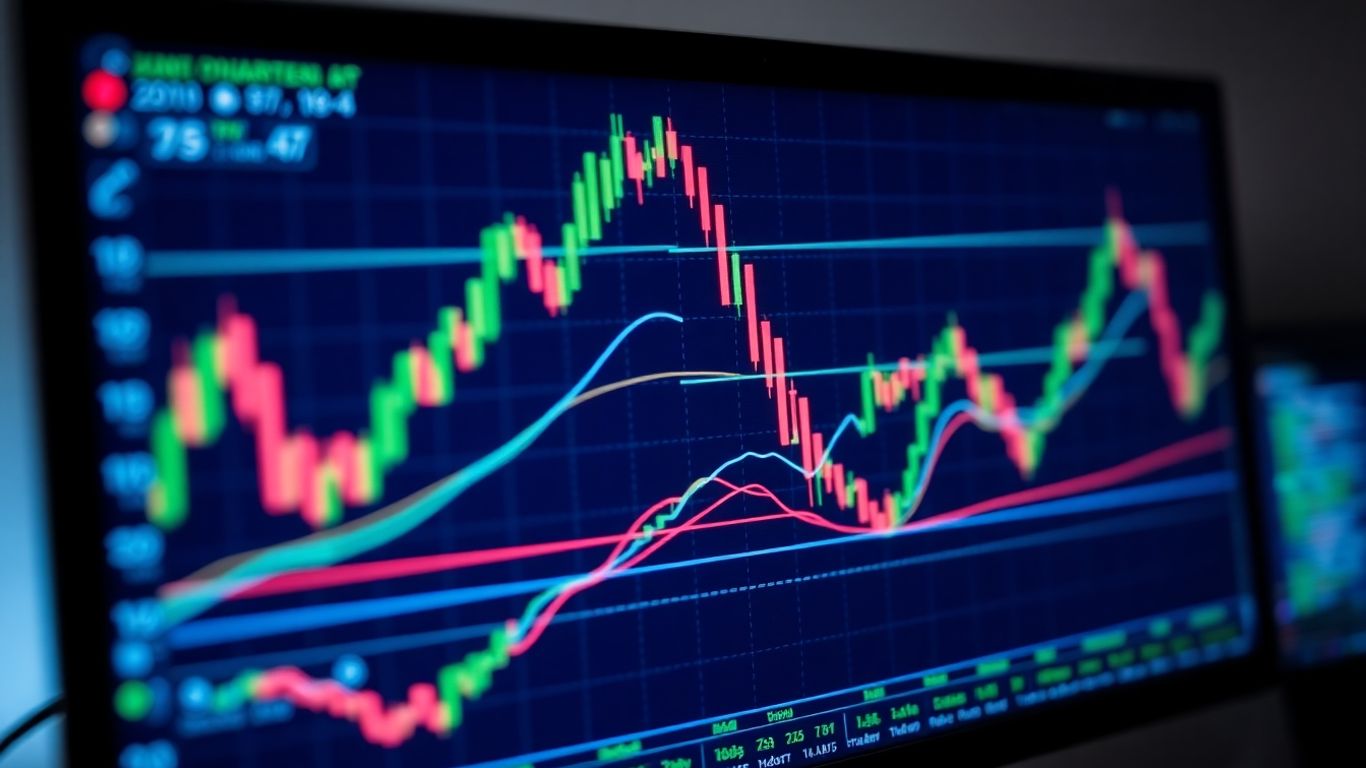
Evaluating Equity Curves And Risk Management Metrics
Your equity curve is a visual representation of your account balance over time. A smooth, upward-sloping curve is the dream, right? But often, it’s more jagged. Look at how volatile your equity curve is. Big, sharp drops followed by recoveries suggest a riskier strategy. You want to see a steady climb, not a rollercoaster. This is where risk management metrics come into play. Things like the Sharpe Ratio (though not directly in TradingView’s basic tester, it’s a concept to consider) help measure return against risk. If your strategy has huge drawdowns, even if it’s profitable, it might not be worth the stress. You need to consider if the potential reward justifies the potential pain of those drawdowns.
When you’re looking at your backtest results, remember that past performance isn’t a guarantee of future results. The goal is to find a strategy that’s robust enough to handle different market conditions, not just one that perfectly fits the historical data you tested on. Always be thinking about how to make your strategy more resilient.
Advanced Techniques For TradingView Backtesting Optimization
Once you’ve got the basics of backtesting down, it’s time to really dig in and see if you can squeeze more performance out of your trading ideas. This isn’t just about tweaking a few numbers; it’s about making your strategy tougher and more reliable. We’re going to look at some ways to do that, moving beyond just a single historical run.
The Importance Of Parameter Tuning And One-At-A-Time Adjustments
So, you’ve got a strategy, and it’s doing okay. But maybe you think it could do better. The temptation is to go wild with the settings, changing everything at once. Don’t do that. It’s like trying to fix a car engine by randomly turning bolts – you’ll probably make it worse. The smart way is to change one parameter at a time. See how that single change affects the results. Then, put it back and try changing another. This way, you know exactly which adjustment is doing what. It takes longer, sure, but it stops you from accidentally creating a strategy that only works on the exact data you tested it on – a problem we call overfitting.
Combining Indicators For Enhanced Signal Confluence
Using just one indicator can be like listening to just one person’s opinion. You might get a decent idea, but you’re missing other perspectives. Combining indicators can give you a stronger signal, a kind of agreement between different market tools. For example, you might use a moving average crossover to signal a potential trend change, but then confirm it with a volume indicator to see if there’s real buying or selling pressure behind it. Or maybe an RSI showing overbought or oversold conditions. The key here is ‘confluence’ – when multiple indicators point to the same thing. But be careful. Too many indicators can clutter your chart and make it hard to see the actual price action. It can also lead to over-optimization, where your strategy only works because of the specific combination of indicators you chose for a particular time.
Multi-Timeframe Analysis For Robust Strategy Development
Think about looking at the big picture before focusing on the small details. That’s what multi-timeframe analysis is about. You might check a daily chart to get a feel for the overall market direction – is it generally going up, down, or sideways? Once you have that general idea, you can then drop down to a shorter timeframe, like a 1-hour or 15-minute chart, to find your exact entry and exit points. This helps make sure your short-term trades align with the longer-term trend, which often leads to better results. It’s like planning a road trip: you know your final destination (long timeframe), but you also plan the specific turns and stops along the way (short timeframe).
When you’re testing, it’s easy to get caught up in making a strategy look perfect on past data. But remember, the market changes. What worked yesterday might not work tomorrow. Always test your strategy across different market conditions – trending, ranging, and volatile periods. This helps you see if it’s a fair-weather friend or a reliable partner.
Here’s a quick look at how you might combine indicators:
- Trend Identification: Use a Moving Average Crossover (e.g., 50-day MA crossing above 200-day MA).
- Momentum Confirmation: Check the Relative Strength Index (RSI) to see if the trend has momentum (e.g., RSI above 50).
- Volume Check: Look at On-Balance Volume (OBV) to confirm if volume supports the price move.
This approach helps build a more solid strategy by requiring multiple conditions to be met before a trade is taken.
Avoiding Common Pitfalls In TradingView Backtesting
Backtesting is a super useful tool, but it’s easy to fall into traps that make your results look better than they really are. We need to be honest with ourselves here. If we don’t watch out, we might end up with a strategy that looks like a winner on paper but falls apart when real money is on the line. Let’s talk about some of the common mistakes people make and how to steer clear of them.
Understanding and Mitigating Overfitting Risks
Overfitting is a big one. It’s like tailoring a suit perfectly for one specific person, but then it doesn’t fit anyone else. In trading, this means tweaking your strategy’s settings so much that it works brilliantly on the exact historical data you used, but it completely bombs when you try it on new, unseen data. It’s a classic case of fitting the noise, not the signal.
- Be wary of strategies that have an extremely high win rate or profit factor on historical data, especially if the number of trades is small.
- Avoid making tiny, incremental adjustments to every single parameter. Sometimes, less is more.
- Always test your strategy on different, non-overlapping historical periods to see if the performance holds up.
The goal isn’t to find a strategy that perfectly predicted the past, but one that has a reasonable chance of performing decently in the future.
Addressing Data Snooping Bias and Sample Size Limitations
Data snooping bias is when you keep looking at the data and tweaking your strategy until you find something that works, often without realizing you’re cherry-picking. It’s like shuffling a deck of cards and dealing yourself a winning hand, then claiming you’re a great poker player based on that one instance. Similarly, backtesting on too few trades or a very short time frame can give you a false sense of security. You might get lucky with a few trades, but it doesn’t mean the strategy is solid.
- Try to use a large, continuous chunk of historical data that covers various market conditions (bull, bear, sideways).
- Aim for a backtest that includes at least 50-100 trades. More trades generally lead to more reliable statistical results.
- If possible, avoid selecting your backtest start and end dates specifically because they make your strategy look good. Let the data speak for itself.
Factoring In Real-World Costs: Fees and Slippage
This is where things get really practical. Backtesting often ignores the costs of trading, like commissions and slippage. If your strategy has a small edge, these costs can easily wipe out any potential profit. Slippage happens when the price you expect to trade at is different from the price you actually get, especially in fast-moving markets or with larger orders.
- Go into your TradingView Strategy Tester settings and input realistic commission fees. Even a small percentage can make a big difference.
- Add a few ticks of slippage to your trades. How much depends on the market you’re trading; more volatile assets usually mean more slippage.
- Consider the impact of spread, especially for forex or crypto trading.
Here’s a quick look at how costs can affect results:
| Metric | Without Costs | With 0.1% Commission & 2 Ticks Slippage |
|---|---|---|
| Total Net Profit | $10,000 | $6,500 |
| Profit Factor | 2.5 | 1.8 |
| Win Rate | 60% | 58% |
Remember, backtesting is a simulation. The closer your simulation is to real-world trading conditions, the more confidence you can have in the results.
Validating Strategies With Walk-Forward Optimization
So, you’ve tweaked your strategy, you’ve looked at the numbers, and you think you’ve got a winner. But hold on a second. What if that amazing performance you saw was just a fluke, a lucky break because you tested on a specific period of market history? That’s where walk-forward optimization comes in. It’s a way to test your strategy more realistically, making sure it can handle different market conditions, not just the ones you happened to test on.
The Principles Of Walk-Forward Optimization
Think of walk-forward optimization like this: instead of optimizing your strategy on one giant chunk of historical data, you break that data into smaller pieces. You optimize on the first piece, then you test that optimized version on the next piece of data. After that, you move forward again, re-optimize on a new chunk, and test on the one after that. This process helps you see if your strategy’s settings actually hold up over time and in different market environments. It’s a much tougher test than just optimizing on everything at once. It helps you avoid the trap of overfitting, where a strategy looks great on past data but falls apart when it encounters new, unseen market behavior.
Implementing Walk-Forward Testing In TradingView
TradingView doesn’t have a built-in, one-click walk-forward optimization tool like some other platforms. You’ll need to do a bit of manual work or use Pine Script to set it up. Here’s a general idea of how you might approach it:
- Divide Your Data: Decide how you’ll split your historical data. For example, you could use 1-year segments for optimization and the following 6 months for testing.
- Optimize on Segment 1: Apply your strategy to the first data segment and run the optimizer to find the best parameters for that period.
- Test on Segment 2: Take the parameters found in step 2 and apply them to the second data segment without further optimization. Record the results.
- Repeat: Move to the next data segment. Re-optimize on this new segment, then test on the segment that follows it. Keep repeating this process.
- Aggregate Results: Collect the performance metrics from all the testing segments. This gives you a more robust picture of how your strategy performs over various market cycles.
It takes more time, for sure, but it’s a much more honest assessment of your strategy’s potential. You can find some helpful scripts on TradingView that automate parts of this process, but understanding the underlying logic is key.
Interpreting Walk-Forward Results For Realistic Performance
When you look at the results from a walk-forward test, you’re not just looking at one overall profit number. You’re looking at a series of performance snapshots. This means you’ll likely see more variability in the results from one testing period to the next. That’s normal and, frankly, a good thing. It shows you how your strategy adapts (or doesn’t adapt) to changing market conditions. You’ll want to pay attention to:
- Consistency: Are the results generally positive across most testing periods, or are there significant periods of loss?
- Drawdowns: How do the maximum drawdowns compare in each testing segment? Are they manageable?
- Parameter Stability: Did the optimal parameters change drastically between segments? If so, it might indicate a strategy that’s very sensitive to market conditions.
A strategy that performs consistently well across multiple, independent testing periods, even with slightly varying parameters, is generally more reliable than one that achieved stellar results on a single, continuous backtest. It suggests the strategy has a better chance of surviving in the real, unpredictable market.
This method is a key part of validating your strategy and is a step beyond simple backtesting, offering a more realistic outlook on how your trading plan might perform in the future. It’s a solid way to build confidence before risking real money, and it’s a practice that many experienced traders rely on. You can explore more about this validation technique on pages discussing strategy optimization.
Putting It All Together: Your Backtesting Journey
So, we’ve walked through how to use TradingView’s backtesting tools. It’s more than just clicking buttons to see past profits; it’s about really digging into your strategy, seeing how it handles different market ups and downs, and making sure it’s not just a fluke. By understanding things like the Strategy Tester, how to tweak settings without going overboard, and what all those numbers actually mean, you’re building a solid base for trading. Remember, backtesting isn’t a one-time thing. Markets change, and your strategies need to keep up. Keep testing, keep refining, and you’ll be much better prepared to face whatever the market throws at you. Happy trading!
Frequently Asked Questions
What exactly is backtesting and why should I care about it?
Backtesting is like using a time machine for your trading ideas. You take a strategy you’ve thought of and test it on past market data to see how it would have done. It helps you figure out if your strategy is a winner or a loser before you risk real money. It’s super important because it saves you time and money by showing you what works and what doesn’t, making your trading decisions smarter and less stressful.
How do I start backtesting on TradingView?
First, you need a TradingView account. Then, you pick the market and timeframe you want to test. After that, you add the indicator or strategy you want to test to your chart. TradingView has a special tool called the ‘Strategy Tester’ at the bottom of your screen. You just run it, and it shows you how your strategy performed on historical prices.
What are the most important numbers to look at after a backtest?
You’ll see a bunch of numbers, but focus on the big ones first. Check the ‘Net Profit’ to see if it made money overall. Look at the ‘Number of Trades’ to make sure it traded enough to be reliable. The ‘Percentage of Profitable Trades’ tells you how often it won. Also, check the ‘Max Drawdown’ – this is the biggest amount of money you could have lost from a peak, which is key for understanding risk.
What’s ‘overfitting’ and how can I avoid it?
Overfitting is when you tweak your strategy’s settings so much that it works perfectly on old data but fails miserably on new data. It’s like tailoring a suit so perfectly for one mannequin that it won’t fit any other. To avoid it, test your strategy on different time periods and don’t make tiny, extreme changes. Keep your strategy simple and test it across various market conditions.
Does TradingView backtesting include real-world costs like fees and slippage?
By default, it might not, but you can set it up to include them! In the strategy settings, you can add a commission percentage to simulate trading fees. You can also add a small amount of ‘slippage’ to represent the difference between the price you wanted and the price you actually got. Including these makes your backtest results much more realistic.
What is ‘walk-forward optimization’ and why is it better than just optimizing once?
Walk-forward optimization is a smarter way to test. Instead of just testing your strategy on all the past data at once, you break the data into pieces. You optimize (tweak the settings) on one piece, then test those settings on the next piece of data. You keep moving forward. This helps you see if your strategy’s settings hold up over time and prevents you from accidentally creating a strategy that only works for one specific past period.