Trading with villagers in Minecraft is one of those things that can totally change how you play. Instead of spending hours searching for rare stuff, you can just set up some trades and let the villagers do the work. It might seem a bit confusing at first—there are so many villager types and trades—but once you figure it out, it’s honestly pretty simple. You’ll get access to enchanted books, diamond gear, and all sorts of cool items without having to grind for hours. In this guide, I’ll walk you through the best ways to make trading with villagers in Minecraft work for you, especially with all the new stuff coming in 2025.
Key Takeaways
- Villager professions decide what trades are available, so learn to spot each type quickly.
- Setting up a trading hall by profession makes finding the right trade much easier.
- Curing zombie villagers and using the Hero of the Village effect can get you big discounts.
- Leveling up villagers unlocks better trades, so keep trading with the same ones.
- Automation using redstone and minecarts can save you a ton of time when trading.
Understanding Professions and Roles in Trading With Villagers in Minecraft
Villager trading in Minecraft isn’t just a way to collect random items—it’s the backbone of building up your world with less grind. Knowing how villager jobs work can turn a frustrating search for rare resources into a reliable system at your base.
Identifying Villager Professions at a Glance
Every villager in Minecraft has a profession, and you can spot which they belong to just by their outfit and the block they hang around. Here’s a simple table to help you sort them quickly:
| Profession | Typical Outfit | Workstation Block |
|---|---|---|
| Farmer | Brown, straw hat | Composter |
| Librarian | White robe, glasses | Lectern |
| Armorer | Blacksmith apron, mask | Blast Furnace |
| Toolsmith | Brown apron, goggles | Smithing Table |
| Fletcher | Feather in cap | Fletching Table |
| Butcher | White apron, red headband | Smoker |
| Cleric | Purple robe, gold chain | Brewing Stand |
| Cartographer | White sash, monocle | Cartography Table |
- Sometimes, a villager won’t have any job and will look like a plain villager – these are called "unemployed." They can pick up a job if you place an available workstation nearby.
- Nitwits wear green robes and never pick up any profession—they’re just there for comic relief, honestly.
- Always look for the unique detail in their clothing to catch their profession at a glance.
Essential Workstations and Their Importance
Villagers need the right workstation to start and keep a profession. Without one, they can’t restock trades, and in many cases, they can’t even trade at all. Placing the correct workstation nearby ensures the villager sticks to their job and keeps their shop "open." Here’s what you should remember about workstations:
- Each profession is tied to one specific workstation block (see table above).
- Changing or removing a workstation can cause a villager to lose their profession—and their available trades if they haven’t been traded with yet.
- Place the workstation close enough for the villager to pathfind to it, or you’ll end up with idle villagers.
The fewer times you mess with a villager’s workstation, the more stable and consistent their trades will stay.
How Professions Affect Trade Inventory
Every profession offers a unique type of trade, and the range of goods depends on both the villager’s job and their experience level (novice through master). If you’re after a specific item—say, enchanted books or diamond tools—you’ll need the right profession leveled up.
- Farmers exchange for crops and basic food early on.
- Librarians offer enchanted books, name tags, and sometimes compasses as you level them up.
- Toolsmiths, Armorers, and Weaponsmiths eventually trade iron or diamond gear.
- Fletchers, Butchers, and Clerics provide more niche trades, like arrows, cooked meat, or ender pearls.
The bottom line: The better you understand each villager’s profession and the block that binds them to it, the easier it is to build an efficient trading system for your world.
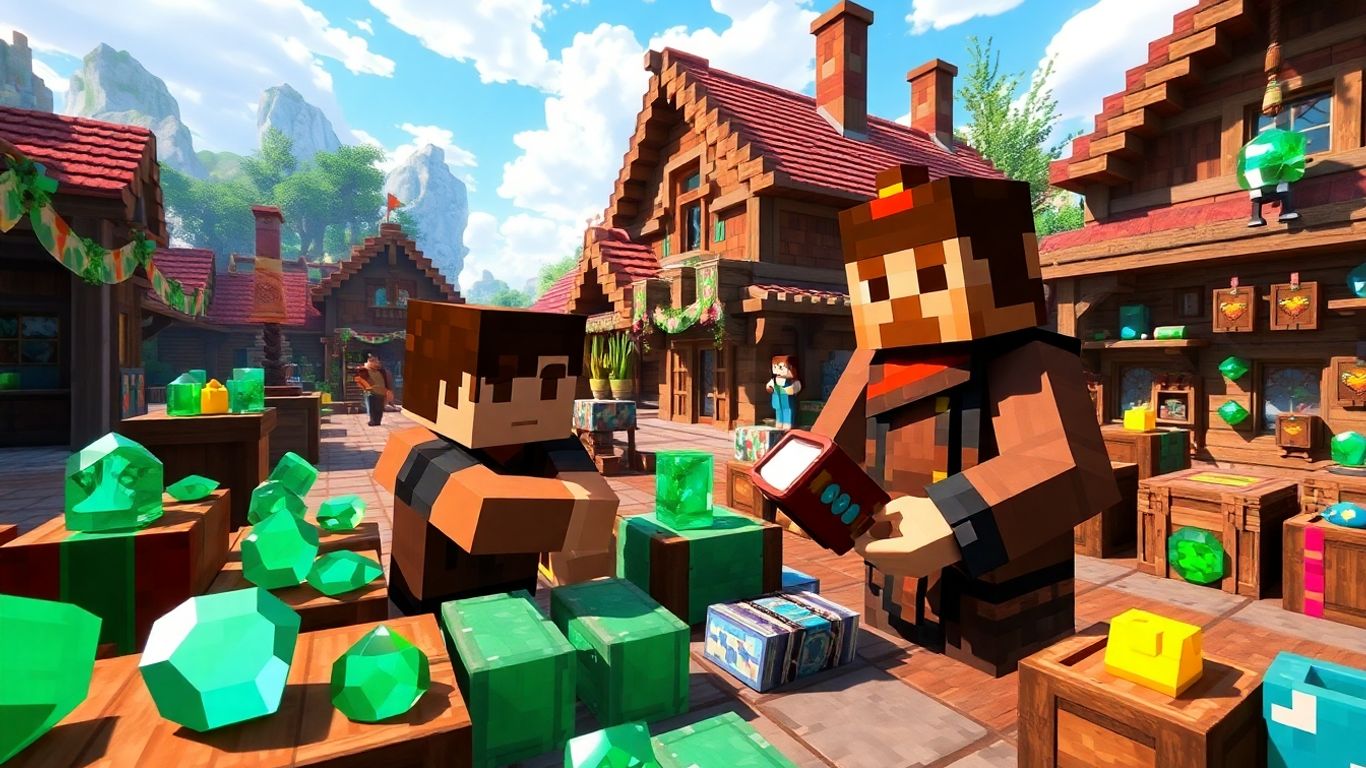
Building the Most Efficient Villager Trading Hall
Creating a good trading hall totally changes how easy it is to get items you want in Minecraft. Having all your villagers in one spot saves so much time and makes managing trades simpler. Let’s look at how to make your trading hall organized and efficient.
Organizing by Profession for Optimal Results
- Group villagers by their job types: librarians, armorers, toolsmiths, and so on. This makes it quick to find the trades you’re after.
- Use separate rows or sections for each profession. Labeling each area helps a lot, trust me.
- Make sure each booth has the matching workstation (like a lectern for librarians), keeping villagers locked into their roles.
Villager Hall Example Table
| Profession | Workstation | Common Trades |
|---|---|---|
| Librarian | Lectern | Enchanted Books |
| Toolsmith | Smithing Table | Tools, Emeralds |
| Armorer | Blast Furnace | Armor, Chainmail |
| Farmer | Composter | Food, Emeralds |
For me, grouping villagers by job type and having every booth marked has made finding specific trades way faster. I can’t count the hours I’d wasted in old, messy halls roaming for that one guy with Mending.
Designing Safe and Accessible Trading Spaces
- Keep your trading hall well lit—no mob wants to deal with a torch spam, but zombies are worse.
- Use solid blocks, fences, or even iron doors to keep mobs out and villagers safe.
- Make walkways wide enough (at least two blocks) so you’re not bumping into villagers, especially if you plan on bringing in minecarts or boats.
- Place the hall near your main base to cut down on travel time.
Streamlining Paths and Workstations for Restocking
- Each villager needs a clear path to their workstation; if their route gets blocked, they might not restock.
- Avoid crowding booths too tightly—leave at least a one-block gap between stations for restock reliability.
- Consider direct access rows, so you can get to every villager quickly. U-shaped or L-shaped layouts work pretty well for visibility.
- Keep backup workstations on hand. If something breaks or you need to move a villager, you won’t have to scramble.
Quick Checklist for a Smooth Hall Build:
- Right number of booths for each villager job
- Safe, well-lit hall with no dark corners
- Walkways for fast access
- Matching workstation at every trader’s spot
- Emergency exit just in case
It’s kind of wild, but after finally setting up a proper trading hall, I could actually plan big gear upgrades. Trading became something I looked forward to, not a hassle.
Building an efficient villager trading hall takes patience, but once it’s set up, trading turns into one of the best parts of Minecraft. No more endless wandering—just straight-up bartering and big upgrades.
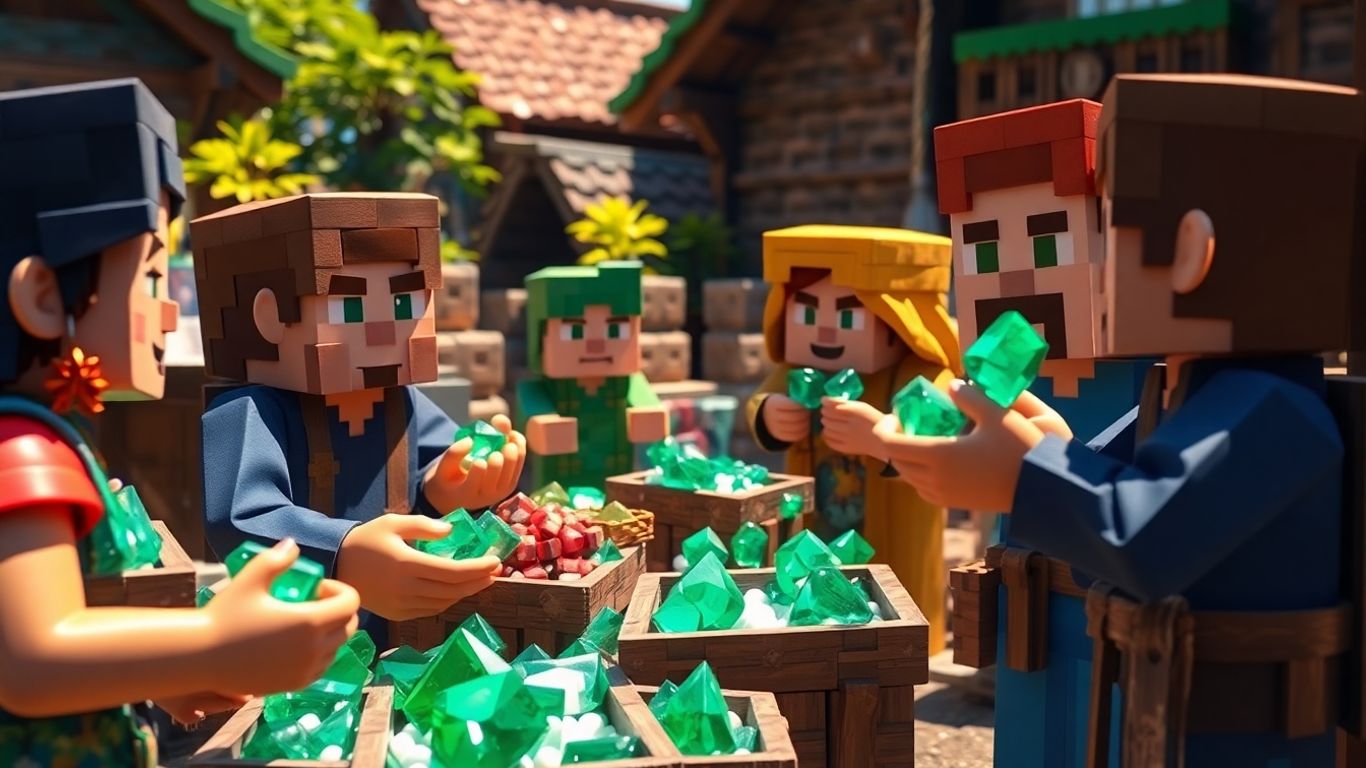
Maximizing Trade Efficiency With Smart Strategies
Getting the most out of trading with villagers isn’t just about walking up and clicking trade. There’s a knack to squeezing every emerald and rare item out of those villagers. If you’re putting time into building a trading hall, why not make your trades go further? Let’s get into the nitty-gritty of smarter trading.
Leveling Up Villagers for Top-Tier Trades
The more you trade with a villager, the more they trust you—simple as that. But leveling up villagers isn’t always as direct as it sounds. You’ll want to strike a balance between investing resources and unlocking those next-level deals.
Bullets for making the most of villager leveling:
- Focus on easy trades first. Use cheap, renewable items to push villagers to the next level quickly (things like sticks with fletchers or paper with librarians).
- Don’t mix and match professions during leveling. Stick with one villager until you’ve fully leveled them up. Every profession unlocks unique items at higher levels.
- If a trade is sold out, give the villager time to restock. Try to trade at least once every Minecraft day for steady progress.
Efficient leveling early on means you’ll unlock enchanted books, gear, and other rare trades sooner, saving loads of grind.
Trade Looping and Resource Cycling Techniques
Efficient trading isn’t just about who you trade with, but how you move resources through the system. Running a proper trade loop can turn common items into emeralds, then right back into valuable supplies.
Here’s a simple cycle I use a lot:
- Grow lots of crops (wheat, carrots, potatoes).
- Trade with farmers for emeralds.
- Use emeralds to buy enchanted books or gear from librarians and toolsmiths.
- If needed, buy items that can feed back into other villagers’ trades (example: turn emeralds into glass, then sell glass panes to clerics or cartographers).
Basic Trade Loop Table:
| Source Item | Trade Villager | Result |
|---|---|---|
| Wheat/Carrots | Farmer | Emeralds |
| Emeralds | Librarian | Enchanted Book |
| Emeralds | Toolsmith | Tools/Gear |
This method keeps your resources moving, locking in profits at each step.
Timing Trades for Best Rates and Deals
Believe it or not, when you trade matters just as much as what you trade. Villager prices shift based on supply, demand, and events in your world.
Key timing points to remember:
- Always trade in the morning after villagers have refreshed their trades. That’s when they’re most likely to have fully stocked offers.
- Watch out for local events like curing a zombie villager (which can drop prices) or Hero of the Village after a raid (for even better deals).
- If prices are high, don’t panic. Ignore those trades, focus on others, and come back later—villagers will often lower prices over time if you hold off.
Sometimes, just waiting an extra day can mean the difference between an average deal and an epic score.
Trading efficiently is all about working with the system, not against it. Figure out a rhythm, keep track of your trades, and enjoy those discounts and stocked inventories. Before you know it, you’ll be rolling in emeralds and rare loot.
Unlocking Rare Items and Enchantments Through Clever Trading
Trading with villagers can totally flip your Minecraft experience. Seriously, once you get the hang of what each villager offers and how to work the system, getting those super hard-to-find items is suddenly way easier.
Getting the Best Enchanted Books From Librarians
Librarian villagers are the goldmine here. They can offer almost any enchanted book in the game. The trick is to set up a librarian, check their trade, and if you don’t like the book—break their lectern and place it again. Repeat as much as you want until a trade for something like Mending or Unbreaking III pops up!
Here’s a quick guide to efficient enchanted book hunting:
- Place a librarian’s lectern right in front of them, check their book, and keep cycling until you find the one you want.
- Remember that higher-level librarians sometimes open trades for rare enchantments as you level them up.
- Keep emeralds and regular books handy, so you never miss a good deal.
If you’re patient, you can end up with every enchanted book you could possibly need—no need to fish or grind for hours.
Sample Librarian Enchanted Book Costs
| Enchantment | Trade Level | Price (Emeralds) |
|---|---|---|
| Mending | Novice+ | 10–30 |
| Unbreaking III | Apprentice+ | 15–27 |
| Fortune III | Journeyman+ | 16–28 |
Securing Diamond Gear and Specialty Items
Besides books, villagers are the best way to snag diamond weapons and armor without mining. Look for these villagers:
- Armorer: Offers diamond chestplates and boots at expert and master levels.
- Toolsmith: Sells diamond pickaxes, axes, and shovels once you level them up.
- Weaponsmith: Unlocked at higher levels—they’ll trade you diamond swords and axes, sometimes with enchantments.
How to get the most out of these trades:
- Trade often to unlock the next level of trades (emeralds, coal, iron, etc.).
- Set up repeatable trades to get experience for the villagers and yourself.
- After unlocking diamond tools, you can keep buying them to stockpile or combine for better enchantments.
Quick Table: Gear-Offering Villagers
| Profession | Gear Type | Unlock Level |
|---|---|---|
| Armorer | Diamond Armor | Expert/Master |
| Toolsmith | Diamond Tools | Expert/Master |
| Weaponsmith | Diamond Weapons | Expert/Master |
Trading for Rare Resources and Name Tags
Villager trading isn’t only about books and diamond stuff. Some villagers have trades you just won’t find anywhere else. Name tags, for example, can be tricky to get—unless you check in with a librarian, who occasionally offers them at higher levels.
Other rare resources you can search for include:
- Clerics: Ender pearls and bottles o’ enchanting.
- Leatherworker: Saddles at journeyman level.
- Cartographer: Woodland explorer maps for finding mansions or ocean monuments.
Just make sure to keep your emerald supply up, since those rare trades don’t come cheap! Good resource cycling between farmers (for easy emeralds) and these rare trades can keep your inventory full of the really special stuff.
Trading isn’t just a side-activity anymore. It’s honestly the best route for end-game gear and stuff you’d never bother searching for the hard way.
Advanced Approaches: Curing and Breeding for Superior Deals
Turning a zombie villager back into a regular villager gives you some of the best trade prices in Minecraft. When you cure a zombie villager, they’ll start offering you deep discounts on everything they sell. Here’s how to do it:
- Trap a zombie villager (you’ll usually spot them at night or during a raid).
- Hit them with a Splash Potion of Weakness.
- Feed them a Golden Apple.
- Wait a couple of minutes, and watch them transform!
| Step | Item Needed |
|---|---|
| Potion Toss | Splash Weakness |
| Golden Apple | Feed to Villager |
| Time | Wait (1-2 minutes) |
You don’t have to do this often—one or two cures can slash prices for life. It’s worth setting up a little curing room in your trading hall so you can work fast if you spot a zombie villager.
Sometimes those steep discounts mean you can get rare enchanted books or gear for just one emerald.
Breeding to Expand Your Trading Network
If your trading floor seems empty or you’re always hunting for new villagers, breeding your own is the fix. Newborn villagers give you a fresh batch of professions and trades. Here’s what you’ll want:
- Two adult villagers
- Extra beds (one for each villager and one for every baby)
- Plenty of food (at least 3 bread, or a bunch of carrots/potatoes)
Just toss food at the villagers and wait. If they’re willing and have enough beds, you’ll hear heart particles, then a baby villager pops out. Let them grow up, hand them a workstation, and you’ve got a new trader. This method is a lot less random than looking for new villages.
- More beds = more babies
- More food = villagers ready to breed
- Profession chosen by their first claimed workstation
Manipulating Prices With Hero of the Village Effects
Defeating a raid doesn’t just protect your base—it also lands you the Hero of the Village effect, which means all villagers in that area will give you even bigger discounts for a short while. This can stack with zombie cures for crazy-good deals. Here’s what you need to know:
- Start and win a raid (usually by killing a pillager captain, then walking into a village)
- Receive the Hero of the Village buff
- Rush your main trading hall to grab the best prices before the effect wears off
| Method | Discount Type |
|---|---|
| Zombie Villager Cure | Permanent |
| Hero of the Village | Temporary (minutes) |
| Curing + Hero Combo | Huge Savings |
If you stack both curing and the Hero effect, you can sometimes buy books, gear, or name tags for a single emerald. It’s worth setting up your trading sprees right after a raid victory.
So, while curing and breeding take a bit of work up front, the payoff is better trades, more villagers, and a trading empire that’s nearly unbeatable.
Automating and Optimizing Your Trading With Villagers in Minecraft
Villager trading can feel repetitive, especially if you’ve got dozens of deals to handle every time you log in. But with a bit of planning, you can make the whole process close to hands-off. A smart automated setup saves plenty of time and keeps your resources rolling in. Here’s how you can get your trading hall running like a machine in 2025.
Using Redstone and Hoppers to Simplify Trading
Redstone and hoppers make life a lot easier when you’re dealing with large quantities of resources and constant trading.
- Place hoppers under villager workstations to collect items they produce, such as crops from farmers or bone meal from automated composters.
- Connect chests to your hopper system for quick item storage and easy restocking.
- Use redstone-powered doors or pistons for controlling villager access to workstations, so you can lock in trades or cycle through options more efficiently.
| Automation Component | Purpose |
|---|---|
| Hopper lines | Collect and deliver trade items |
| Redstone doors/pistons | Move/lock villagers or workstations |
| Chests | Store traded goods and supplies |
Make sure you use slabs or glass by the rails to keep villagers from getting stuck, since a simple fix like this (as described here) can keep your automation flowing smoothly.
Transporting Villagers With Minecarts and Boats
Moving villagers into your trading hall or between sections doesn’t have to be a pain.
- Boats are the low-tech way: just place a boat next to a villager and row them where they need to go (even on land).
- Minecarts and rails are faster for longer distances or more complex setups. Set the rails, use powered rails for speed, and get the villager in with a little gentle pushing.
- Make sure each transition is smooth—clear obstacles and use glass or slabs as guardrails to prevent any mishaps.
- Provide safe drop-offs at each station, where the villager can exit into a secure, enclosed space in your trading hall.
Common Pitfalls to Avoid in Automation
Even small details can mess up your automated trading setup. Watch out for these mistakes:
- Forgetting to give villagers access to their workstations for restocking
- Allowing mobs to spawn in the hall, which puts your villagers at risk
- Overcomplicating redstone systems, making maintenance a nightmare
- Not testing transport routes, so villagers get stuck or take damage
A little effort up front with organization and safety can spare you a ton of headaches later. Automation is about making life simpler—so test as you go, and keep things easy to troubleshoot.
Troubleshooting and Fixing Common Villager Trading Issues
Trading with villagers in Minecraft is awesome—until things go sideways. Villagers can be quirky, and if you’re not careful, your perfect trading setup can run into some real headaches. Let’s cover the biggest problems you might face and how you can deal with them.
What To Do When Villagers Won’t Trade
Villagers sometimes refuse to open up those handy trade menus. If this happens, consider these fixes:
- Check their workstation. Is it there and easy to reach? If not, place one within a few blocks.
- Make sure the villager isn’t scared. Hostile mobs nearby—especially zombies—will spook them and stop trades.
- Villagers need to restock. They only do this during the day when they can reach their job site block.
- Confirm you’re close enough. Sometimes being too far away means you can’t interact.
If a villager still won’t trade after these fixes, try waiting out a full Minecraft day or breaking and replacing their workstation.
Resolving Restocking and Leveling Problems
Ever had a villager stuck at the same level, or refusing to refresh its trades?
- Restocking Checklist:
- Leveling Up Stuck Villagers:
| Problem | Solution |
|---|---|
| Villager won’t restock | Clear path to workstation, wait a day |
| Villager not leveling up | Trade more, check job block access |
| Workstation linked to wrong villager | Isolate, break/replace job site block |
Protecting Your Traders From Mobs and Bugs
Villagers are pretty fragile. Here are a few ways to keep them and your trades safe:
- Build solid enclosures—a fence isn’t enough; use walls or glass.
- Place lots of torches to keep hostile mobs out.
- Always close doors to trading halls.
- Make a habit of trading regularly. Traded villagers won’t despawn.
Even if your setup seems locked down, a single creeper or wandering zombie can ruin your trading lineup in seconds. One slipup and your favorite librarian is gone forever.
Keep these pointers in mind, and you’ll spend more time trading and less time fixing problems. It can be a pain at first, but once your villagers are happy and safe, trading becomes way less stressful.
Conclusion
Alright, that’s pretty much everything you need to know about trading with villagers in Minecraft these days. It might seem like a lot at first, but once you get your trading hall set up and figure out which villagers give you the best deals, it gets a whole lot easier. Honestly, I used to ignore villagers and just went mining for hours, but now I can’t imagine playing without a good trading setup. It saves so much time and you end up with way better gear. Just remember to keep your villagers safe, check their trades often, and don’t be afraid to experiment with different setups. Minecraft keeps changing, so who knows what new trades or professions we’ll get next year. For now, though, trading with villagers is one of the best ways to get ahead in your world. Good luck, and happy trading!
Frequently Asked Questions
How do I tell what job a villager has in Minecraft?
You can spot a villager’s job by looking at their clothes and the workstation nearby. For example, a librarian has a book on their head and stands near a lectern, while a farmer wears a straw hat and stays close to a composter.
Why won’t my villager trade with me?
If a villager isn’t trading, they might not have access to their workstation, or they could have run out of trades for the day. Make sure their workstation is nearby and wait for them to restock, which usually happens twice a day.
How can I get cheaper trades from villagers?
You can lower trade prices by curing a zombie villager with a weakness potion and a golden apple. Also, defending a village from a raid gives you the ‘Hero of the Village’ effect, which makes trades cheaper for a while.
What’s the best way to organize a trading hall?
Keep villagers grouped by their job, and make sure each one has their own workstation. Use walls or fences to keep them safe from zombies, and leave enough space so you can move around and trade easily.
How do I get rare items like enchanted books and name tags from villagers?
Trade with librarian villagers for enchanted books and name tags. Level them up by trading until you unlock all their offers. Sometimes you’ll need to cycle through different librarians to find the best enchantments.
What should I do if my villager won’t restock trades?
Check that the villager can reach their workstation and that it’s the right time of day (usually morning or afternoon). If their workstation is blocked or missing, they won’t restock. Fix the workstation, and they should start restocking again.